

Why I’m Obsessed with Golden Hour
(and You Should Be Too)
I’ve always been drawn to the magic of golden hour. As someone who spends a lot of time outdoors, those soft, golden rays just have a way of transforming an ordinary scene into something breathtaking. Maybe it’s the way the light glows across the landscape, or perhaps it’s how every shot seems to radiate warmth, or both! Golden hour has a special place in my heart as a photographer, and has become one of my favorite times to shoot. It’s like nature’s personal gift to photographers.
But here’s the thing: getting those stunning, glowing photos isn’t just about pointing and clicking. Over the years (and with plenty of trial and error), I’ve learned a few tricks to really make the most out of those golden rays- and I’m excited to share them with you. So, if you’re ready to up your golden hour game, let me walk your through some of my favorite golden hour photography tips, plus a few personal stories and mistakes I’ve learned from along the way.
Timing is Everything: When is Golden Hour?
Golden hour is a brief, magical moment in time right after sunrise and just before sunset when the light is soft, warm and low in the sky. It typically occurs one hour after sunrise and one hour before sunset. However, the exact timing isn’t always set in stone. Factors like your location, time of year, and weather conditions effect your golden hour time.
- Location: Your geographic location plays a huge role in how long golden hour lasts. In areas closer to the equator, the sun moves quickly, shortening golden hour. But in regions farther from the equator, golden hour stretches longer, but only during certain seasons. For instance, in places like Alaska and Norway, golden hour can last all day during summer, while in the winter, it might not happen at all. Here in the Colorado Front Range, it’s a bit different. Since the sun sets behind the mountains to the west, golden hour is often cut short as the sunlight gets blocked by the peaks before it fully dips below the horizon. This means you’ll need to start your shoot a bit earlier than in flatter areas, as the window for capturing that perfect light will be narrower.
- Time of Year: The length of golden hour changes with the seasons. In summer, you have more daylight hours, so golden hour happens earlier in the morning and later in the evening. Winter, on the other hand, means shorter days, so golden hour occurs later in the morning and earlier in the evening. In Colorado, during the winter months, the sun stays lower in the sky, creating softer, longer-lasting light but with shorter windows for that golden glow.
- Weather: Weather also plays a big role in the quality of golden hour. Clear skies usually give you that soft, golden light, while clouds can either enhance it with dramatic color shifts or block it completely. Even on partly cloudy days, the light might be softer, but you can still catch some beautiful effects as the sun interacts with the clouds.
So, long story short: Golden hour typically happens about an hour after sunrise and an hour before sunset, but the timing and duration can vary based on your location, the season, and weather conditions. In the Colorado Front Range, be prepared for a shorter golden hour due to the mountains blocking the sun early. To get the most accurate timing for your area, check local sunrise and sunset times. Simply Google “golden hour in [your location]”
Camera Settings for Golden Hour Magic
Golden hour may offer perfect lighting, but getting the right settings is key to making sure the light works in your favor. I thought I could get away with just using automatic settings. Spoiler: I could not lol. The soft, warm, and low sunlight can easily trick your camera into overexposing or underexposing your shot, especially if you’re like me and love shooting with wide apertures. So manual control is essential.
Here’s my usual setup for golden hour:
- Aperture: For golden hour shots, I love using my Canon 50mm f/1.2. Its wide, f/1.2 aperture allows me to capture a lot of that warm, golden light. However, I find that shooting wide open at f/1.2 can sometimes let in too much light, especially during the early moments of golden hour unless my subject is very close. Because of this, I prefer to keep my aperture between f/1.2 and f/3.2 for portraits to get that beautiful, soft background while controlling the light. For landscape photography, I opt for a higher aperture, around f/8.0 or above, to ensure everything is sharp and in focus from foreground to background.
What is Aperture in Photography? - ISO: I keep it as low as possible (around 100-200) to maintain that sharp, noise-free image. However, as the light starts to fade, you might need to bump it up a bit to keep your shots bright and crisp. 1600 is a good stopping point to avoid grainy photos, but feel free to use a higher ISO when needed.
What is Exposure in Photography? (Simple ISO Guide for Beginners) - Shutter Speed: You’ll want to play with this based on movement. For a handheld portrait, I like to keep my shutter speed around 1/160th to 1/400th of a second to ensure a sharp image and good exposure. However, if I am photographing a fast corner in motocross, I might crank up the speed to as high as 1/2400th of a second to freeze the movement and catch every detail in action. For slower-paced scenes, experiment with slower shutter speeds to let in more light and create a softer effect.
Positioning Your Subject for That Golden Glow
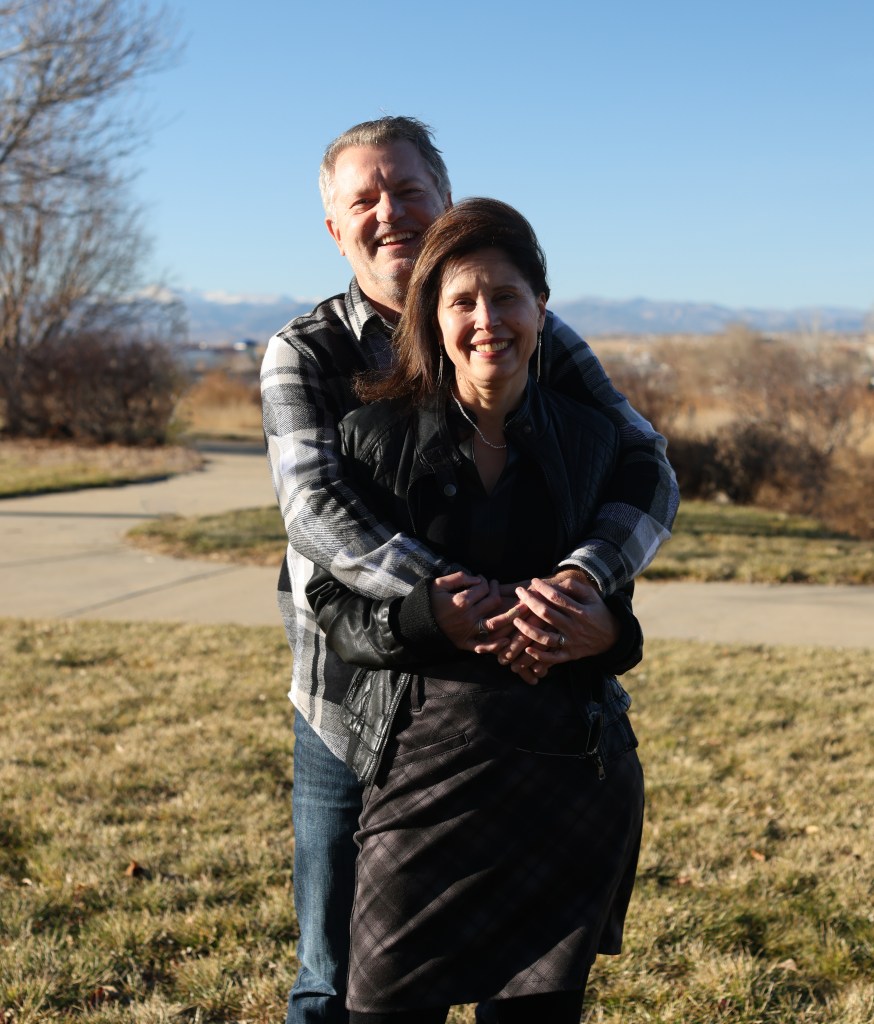
One of my favorite things about golden hour is how it wraps everything in soft, warm light. But positioning your subject- whether it’s a person, a dog, or a landscape- can make or break your shot. I’ve found that backlighting is my go-to, letting the sun hit your subject from behind creates that dreamy halo effect.
Funny enough, I learned this the hard way. My first ever golden hour shoot with clients was an absolute mess because I had them facing the sun. Not only did he squint the entire time, but I ended up with harsh shadows and washed-out photos. Lesson learned: the sun behind your subject is your best friend.
While I generally keep the sun behind or to the side of my client, I’ve found that the optimal position is when the sun is about two inches above their head. This is where the magic happens. I use a simple technique: put two fingers together and stretch your arm out to place your fingers at the top of their head. Then, adjust your positioning until the sun is in that perfect spot for a glowing, flattering effect.


To make matters worse, I positioned the family facing the sun because I wanted to ensure they were well-lit. Rookie mistake! They ended up squinting the entire time, which is something you can’t easily fix in post production editing. Plus, the direct sunlight created super bright highlights and harsh shadows that took me hours to edit—using over 100 overlay masks, no less! The result still wasn’t what I envisioned, but it taught me two valuable lessons: don’t shoot too early, and always position your subjects with their backs to the sun to avoid those squints and extreme lighting contrasts.
Editing for That Signature Golden Hour Look
While the light is already pretty magical, a little editing can help bring out the full potential of your golden hour shots. I tend to focus on enhancing the warmth and tweaking the shadows to bring balance to my images. In Lightroom, I like to bump up the vibrancy and adjust the highlights, especially if I’ve overexposed a bit.
One thing I’ve noticed while editing my golden hour shots with clients is that their hair picks up that golden glow beautifully, but if I don’t manage the highlights carefully, I risk losing detail. So, my tip here is: don’t be afraid to pull back the highlights and bring out the richness in your photos.
Pro Tip: Use the graduated filter tool in Lightroom to adjust the exposure of the sky separately from the foreground, creating a more balanced image.
Conclusion:
Golden hour offers a fleeting but magical opportunity to capture stunning, radiant images. With a bit of practice and the right techniques, you can turn those warm, golden rays into breathtaking shots. By understanding the best times to shoot, positioning your subject to make the most of that soft light, and adjusting your settings to suit the moment, you’ll be well on your way to mastering this enchanting time of day.
The sun’s placement can dramatically transform your shots, so experiment with different angles and apertures to find what works best for you. And don’t forget to enjoy the process, golden hour is a brief, enchanting window that can turn ordinary scenes into extraordinary photos.
So, what’s your favorite golden hour memory? I’d love to hear about your experiences with this magical time of day.


19 responses to “Golden Hour Photography: The Best Settings & Tricks for Perfect Shots”
I love golden hour so much. Whenever it happens I try to see if I can take a photo or two, especially with flowers. MY favorite shot is when there were some orange roses in a vase in my kitchen, next to the window. The sunlight was hitting the petals amazingly and I had to take a picture. It was so pretty. I love the tips too because it’s really cool to know there’s specifics to taking pics during golden hour and how to make them even better.
LikeLiked by 1 person
That sounds like such a beautiful moment! There’s something magical about how golden hour light transforms everyday scenes. I remember how stunning those orange roses looked with the sunlight hitting them just right. Flower photos during golden hour always have that extra glow that’s impossible to resist. I’m glad you found the tips helpful too! I can’t wait to see your next golden hour moments! 🌸
LikeLike
[…] Mastering Golden Hour Photography: Tips for Stunning Shots […]
LikeLike
[…] you tell I am a huge fan? Lol! You can read more about golden hour photography and why I love it here.) This time, I captured Abby, a dog who’s usually the goofy, adorable “pork chop” of the […]
LikeLike
[…] Golden hour is my favorite time to shoot, and knowing exactly when it starts and ends is critical. I use Google weather to track the sun’s position so I can plan my shots down to the minute. […]
LikeLike
[…] photos outdoors or near a window whenever possible. Early morning or late afternoon—also known as golden hour—provides soft, warm light that enhances your subject without harsh shadows. If you’re […]
LikeLike
[…] Golden Hour Photography: The Best Settings & Tricks for Perfect ShotsDiscover how to capture breathtaking golden hour photos with the perfect settings and tips for shooting in those magical moments just before sunset or after sunrise. […]
LikeLike
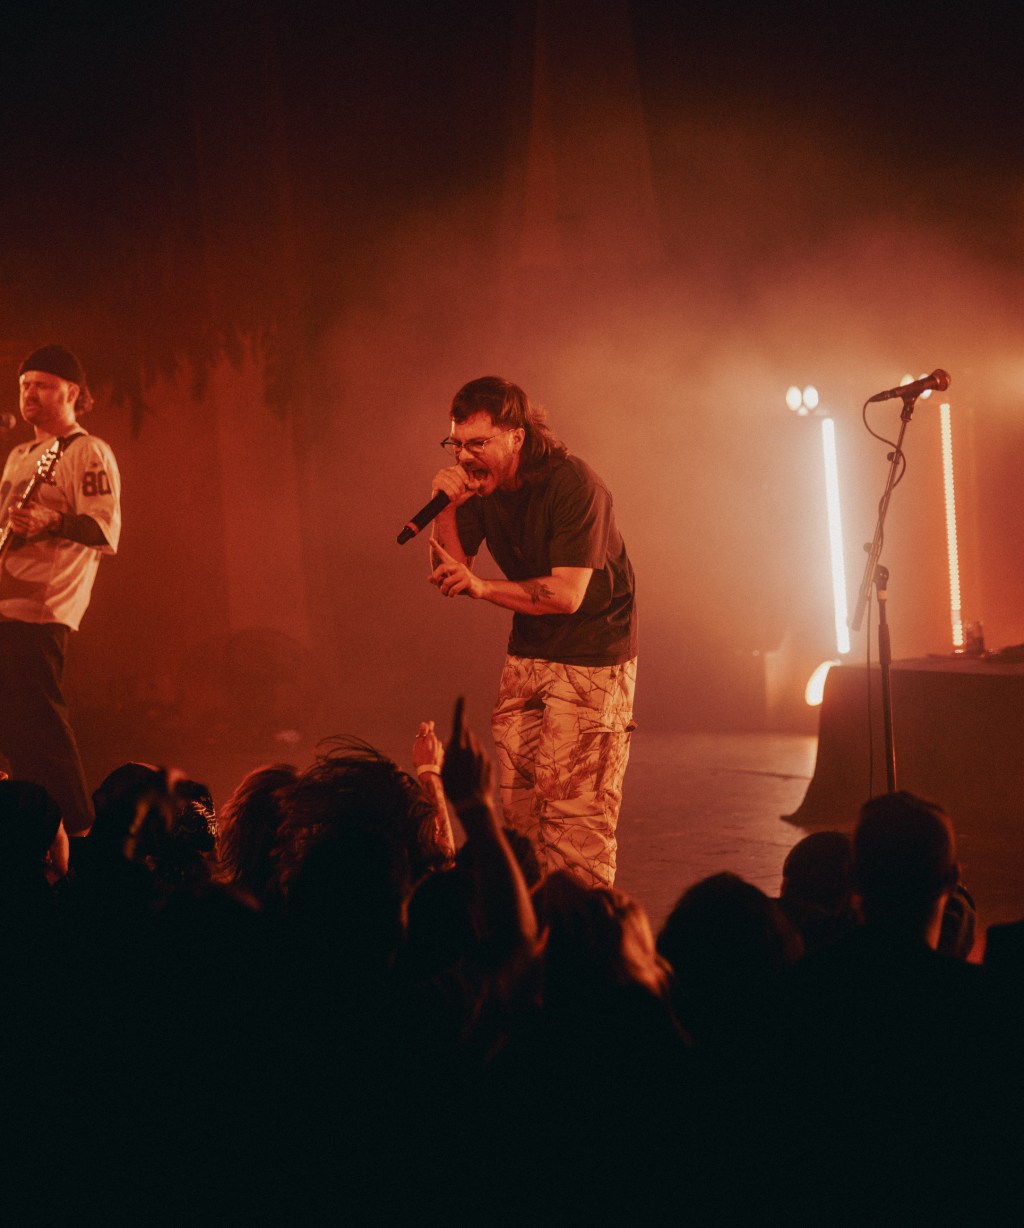
[…] in low-light: From shooting concerts to golden hour on a mountain trail, this camera performs brilliantly in tough lighting […]
LikeLike
[…] Golden Hour Photography: The Best Settings & Tricks for Perfect ShotsDiscover how to capture breathtaking golden hour photos with the perfect settings and tips for shooting in those magical moments just before sunset or after sunrise. […]
LikeLike
[…] Golden Hour Photography: The Best Settings & Tricks for Perfect ShotsDiscover how to capture breathtaking golden hour photos with the perfect settings and tips for shooting in those magical moments just before sunset or after sunrise. […]
LikeLike
[…] Golden Hour Photography: The Best Settings & Tricks for Perfect Shots […]
LikeLike
[…] Golden Hour Photography: The Best Settings & Tricks for Perfect ShotsLearn how to master exposure during golden hour for stunning portraits and landscapes. […]
LikeLike
[…] Tip:Shoot during golden hour and slightly backlight your subject to create a soft glow around the flowers. Outdoor portraits […]
LikeLike
[…] For more information about when to schedule a photoshoot to maximize the golden glow of the sun, check out Golden Hour Photography: The Best Settings & Tricks for Perfect Shots […]
LikeLike
[…] What is Golden Hour and how to shoot during it! […]
LikeLike
[…] Golden Hour Photography: The Best Settings & Tricks for Perfect Shots […]
LikeLike
[…] Golden Hour Photography: The Best Settings & Tricks for Perfect Shots […]
LikeLike
[…] Golden Hour Photography: The Best Settings & Tricks for Perfect Shots […]
LikeLike
[…] Golden Hour Photography: The Best Settings & Tricks for Perfect Shots […]
LikeLike